share
cookmode
print
You must be logged in to bookmark
Log In / Sign Up
bookmark
You must be logged in to rate
Log In / Sign Up
rate recipe
No Knead Bread - a rustic loaf

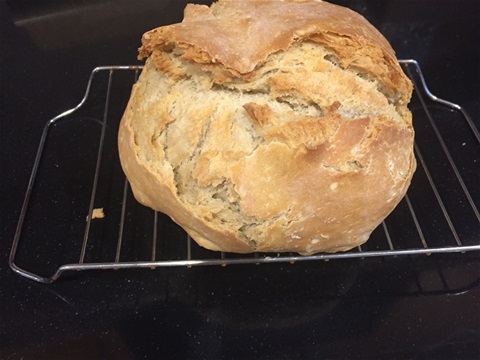
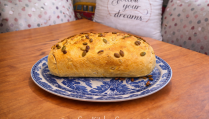
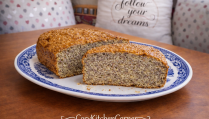
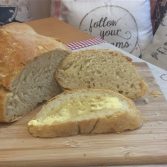
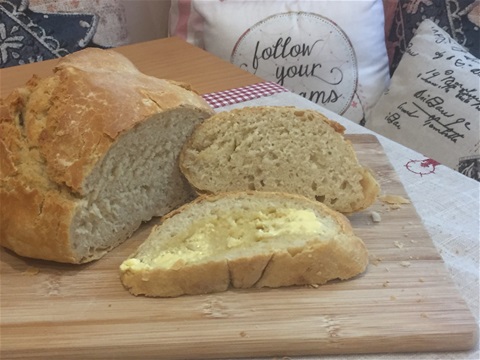
No Knead Bread – a rustic loaf

Bread is a staple in any household, and the perfect recipe to help you shine in the kitchen is essential.

This particular recipe calls for a dutch ovenĀ  – cast iron pot like the Le Creuset type, although any oven proof pot with a tight fitting lid (make sure both pot and lid are safe to withstand 220 degree heat) should do the trick.

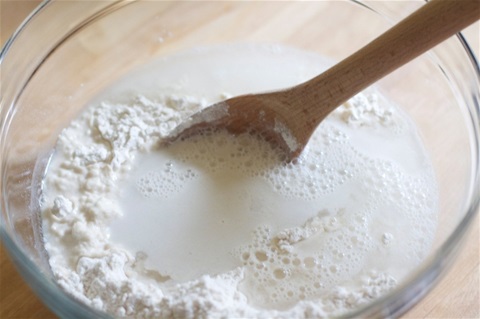
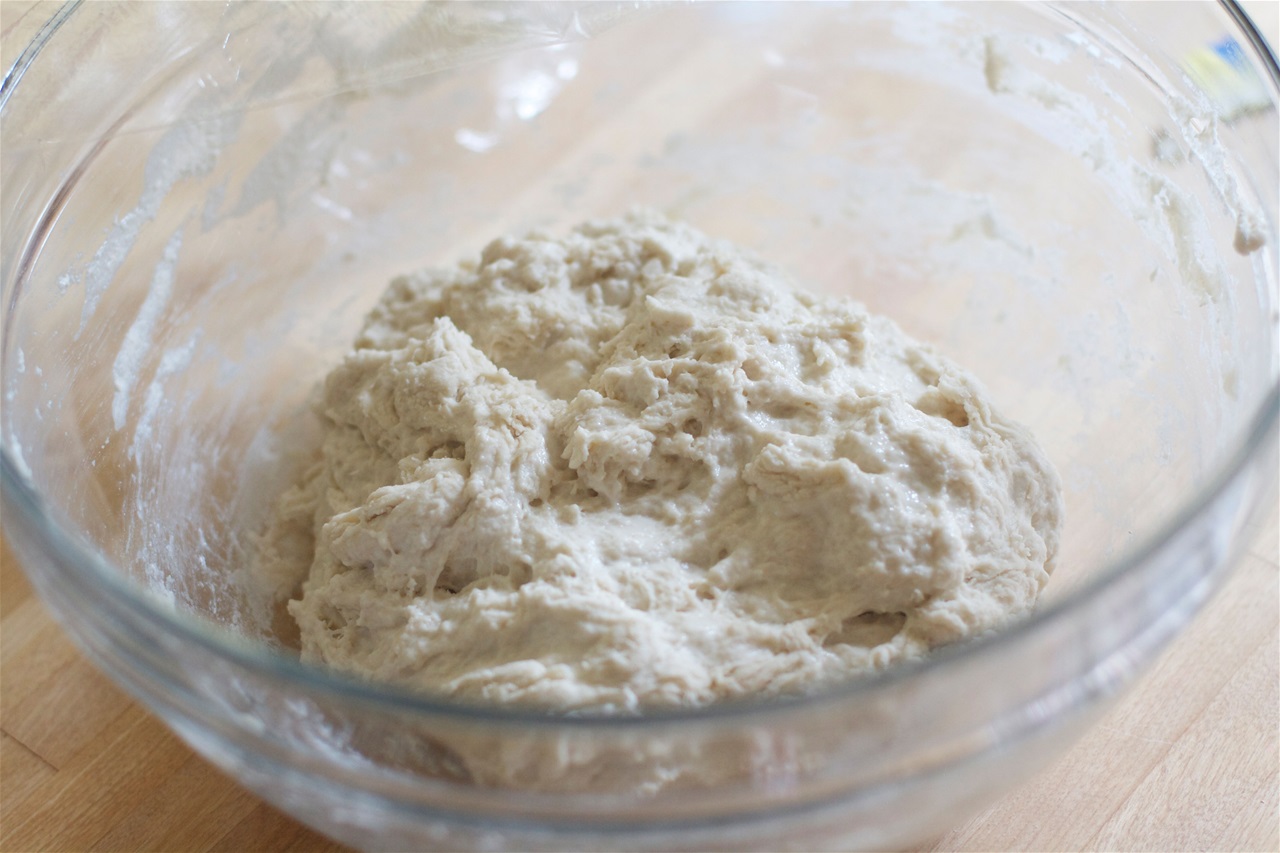
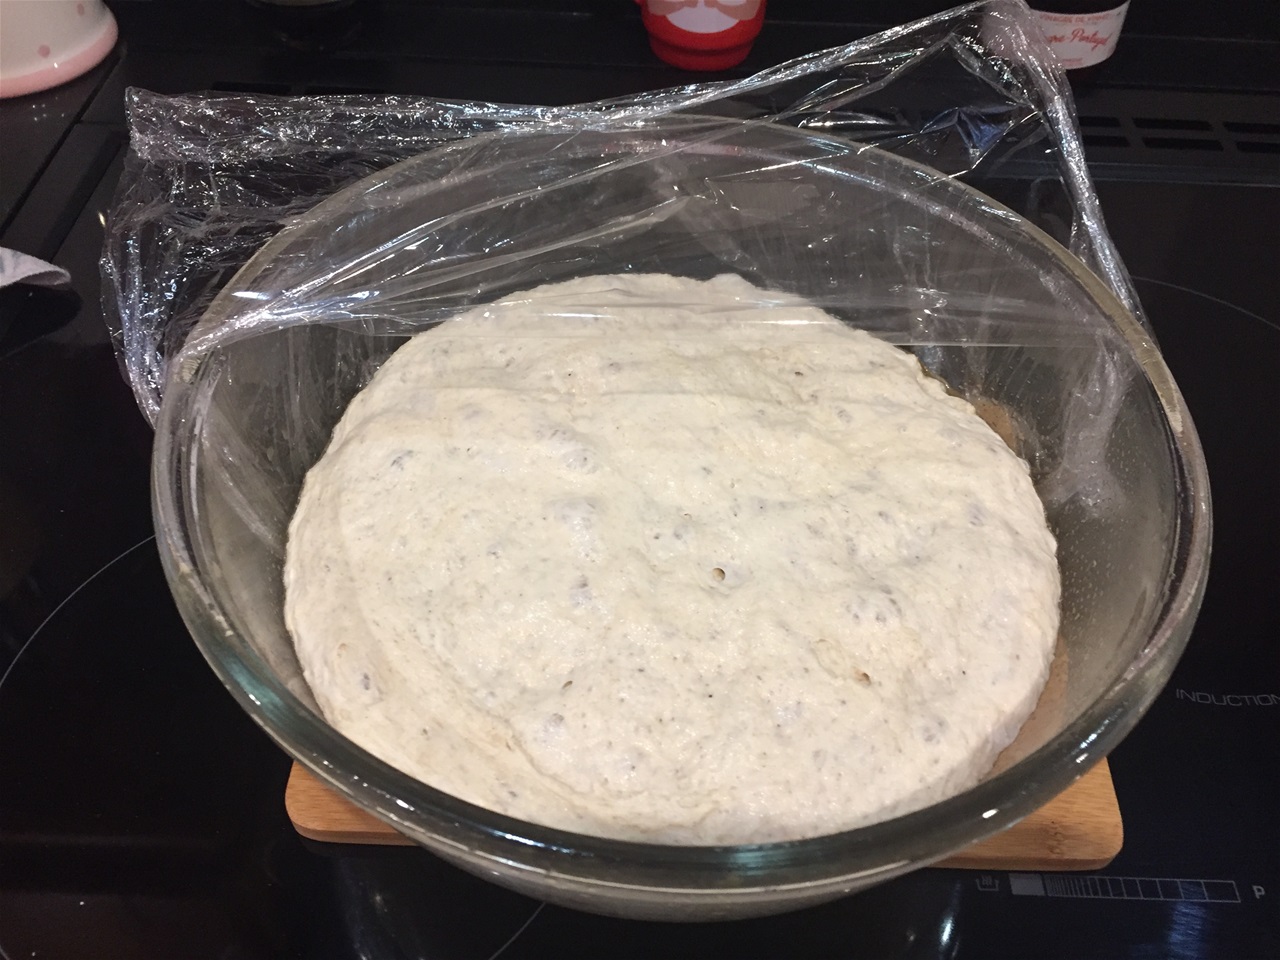
No Knead Bread is a simple and no fuss way to bake your own loaf. It requires no time at all to prepare, but it does need some 8 to 12 hours to prove, so its best to prepare it the night before and let it rise overnight. At least this scenario works best for me although I have been know to prepare this at seven in the morning, and bake it around six in the afternoon ready for a dinner party.

The smell of freshly baked bread combined with the finished look of this rustic loaf, will most definetly make you shine on any occasion.

No Knead Bread - a rustic loaf

Ingredients

3 cups - 380g - 13.5ozs Bread flour you can use plain flour too, but I like the flavour and texture the bread flour gives this recipe.
1.5 cups - 360ml-12 fl oz of warm water - it needs to be warm, NOT hot NOR cold as this will affect the way the yeast ferments and rises.
1 teaspoon of salt.
1 x 7g packet dried yeast - if you don't like the strong flavour of yeast in the bread then add 1/2 packet. With the time required to prove this should still rise quite a bit.

Instructions

1
In a bowl place the flour and on opposite sides to each other the salt and yeast. Mix to combine evenly.
2
Make a well in the centre, and add the warm liquid. Mixing well with a wooden spoon until all the water is absorbed. You are looking to have a wet and sticky dough, if the mix still feels too dry, then slowly incorporate a teaspoon of warm water at a time, mixing well.
3
Make sure you mix well.
4
Once this is done, cover with cling film, and place in a warm draft-free place overnight or any where between 8 - 12 hours. I usually place mine inside my oven, as it seals tightly when closed and won't allow for a varying degree of change to the ambient temperature. And thats it, all your hard work is done (for now).
5
This is what your dough should look like. Now cover with cling film it and let if prove overnight.
6
This is what your dough should look like the next morning or some or some 8-12 hours later.
7
Turn your dough out onto some floured grease-proof paper and shape it back into a ball. Cover (with the grease-proof paper) and allow to rest and rise for a further 30 mins.
8
In the meantime turn your oven on to 220 degrees. Lightly grease your dutch oven, or tight fitted lidded pot (is that even grammatically correct?), and place the dutch oven with the lid on into the oven to heat up for 30 minutes.
9
Mine is a simple cast iron pot (commonly known as Dutch Oven).
10
After 30 minutes, place the dough into the dutch oven (pot), return the lid and bake for 30 minutes, then remove the lid and bake for a further 15.

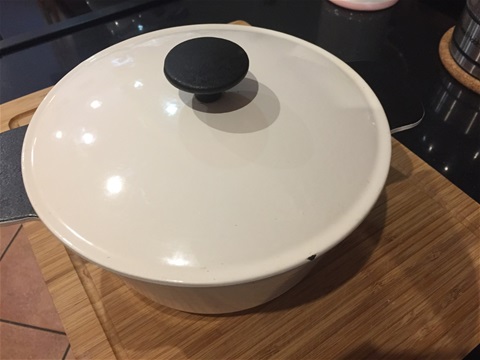
Total 45 minutes in oven.
11
Remove bread and allow to cool on a wire rack, I normally give it thirty minutes to cool down as I find this makes it easier to slice. I hope you try this recipe as its quite simply one of the easiest bread recipes I have ever made.
12
The smell is incredible, and by this time your whole house will smell heavenly.
Cosy Kitchen Corner
Close Cookmode